
More often than not, setting up a garbage disposal consists of attaching the unit to the mounting ring found in the package and hooking it to the drain pipes. However, the straightforward do-it-yourself approach is usually proprietary to older models. The newer food waste disposal models are typically available with power cords and outlets, making the installation slightly more complex.
While it may sound simple in theory, it is necessary to underline the fact that if you are clueless about how to handle the electrical or plumbing tasks, it is advisable to hire a professional to help you out. On the other hand, even if you know what you are doing, it does not hurt to check out the instructions provided by the manufacturer in order to be certain you will not have any trouble with the garbage disposal unit in the future.
In the following guide you will find a summary of the basic steps required for the installation of a waste disposer. Before proceeding to the steps, I want to emphasize on the fact that the power to the unit should be turned off throughout the entire duration of the installation in order to prevent unwanted accidents.
Step 1
First of all, you should remove the current water assembly (the mechanism connecting the sink flange to the trap) from underneath the kitchen sink and replace it with the sink flange that came with the waste disposal unit. In order to make your job easier, it is a good idea to wrap a coil of plumber’s putty before rearranging it. Because you will probably make a mess, be sure you have a bucket and some towels readily nearby.
Step 2
Carefully push the flange down the drain hole until you notice the putty becoming a sealant between them. Afterwards, place a heavy object on top of it to keep it in place and start installing the backup ring, fiber gasket and mounting ring under the sink. It is highly advisable that at this point you use the guidelines provided by the manufacturer.
Step 3
The next step implies connecting the discharge tube of the disposal to the sink pipes and making sure the mounting assembly is securely fastened in place. In the eventuality that you have a dishwasher, then you will have to connect it to the disposal unit as well by replacing the drain plug with a drain hose.
Step 4
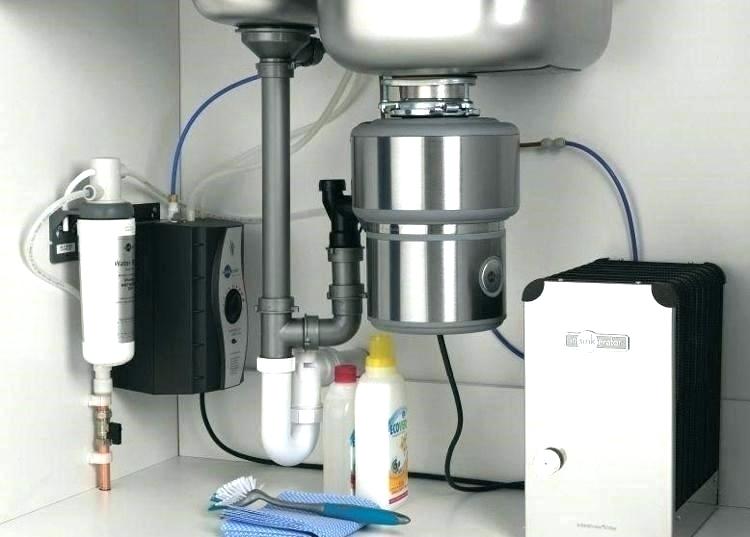
Now, you are ready to install the food waste disposer. Lift the unit slowly and introduce its top into the mounting assembly. For most models, a secure insertion of the disposal implies having the mountain tabs slide precisely over the mounting tracks until they are locked. Since these units are usually not very heavy, you can easily rotate them until the tabs are on top of the mounting tracks and then tighten the ring between them with a screwdriver or wrench.
Step 5
The final phase comprises of connecting the electrical wire (usually found at the bottom of the disposal) to an electrical outlet. Afterwards, plug it in the respective receptacle, remote control unit or air switch and you are done!